Intellij 配置Tomcat, Jsp 示例。
环境:Intellij idea 2020。
超详细的教程
创建 Servlet 步骤
新建项目

选择java
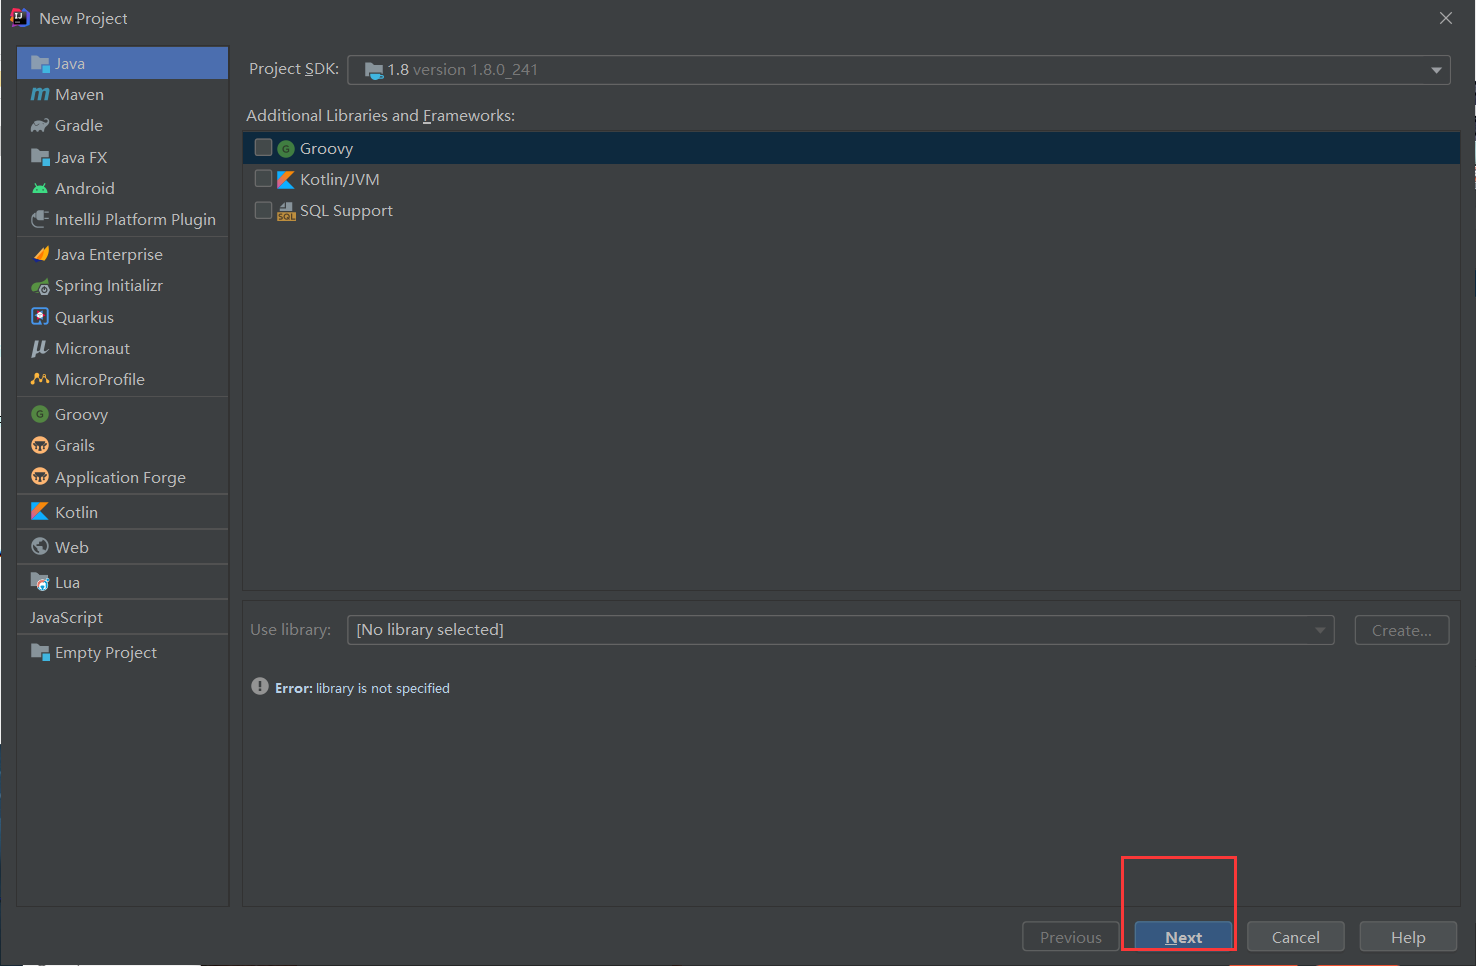
然后next,再next
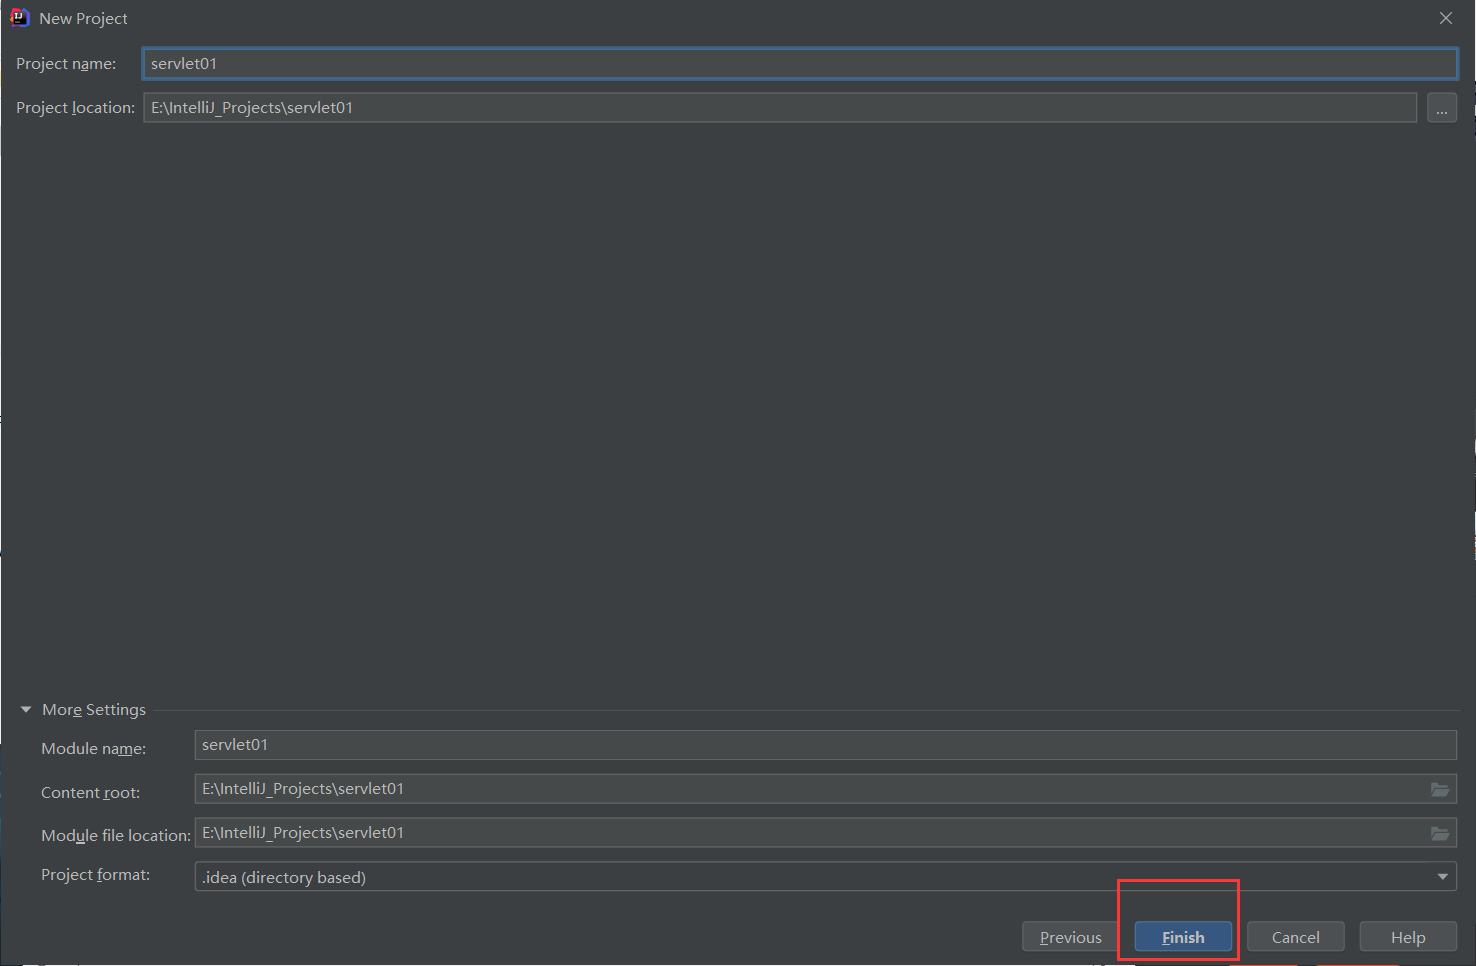
设置项目名称,点击finish
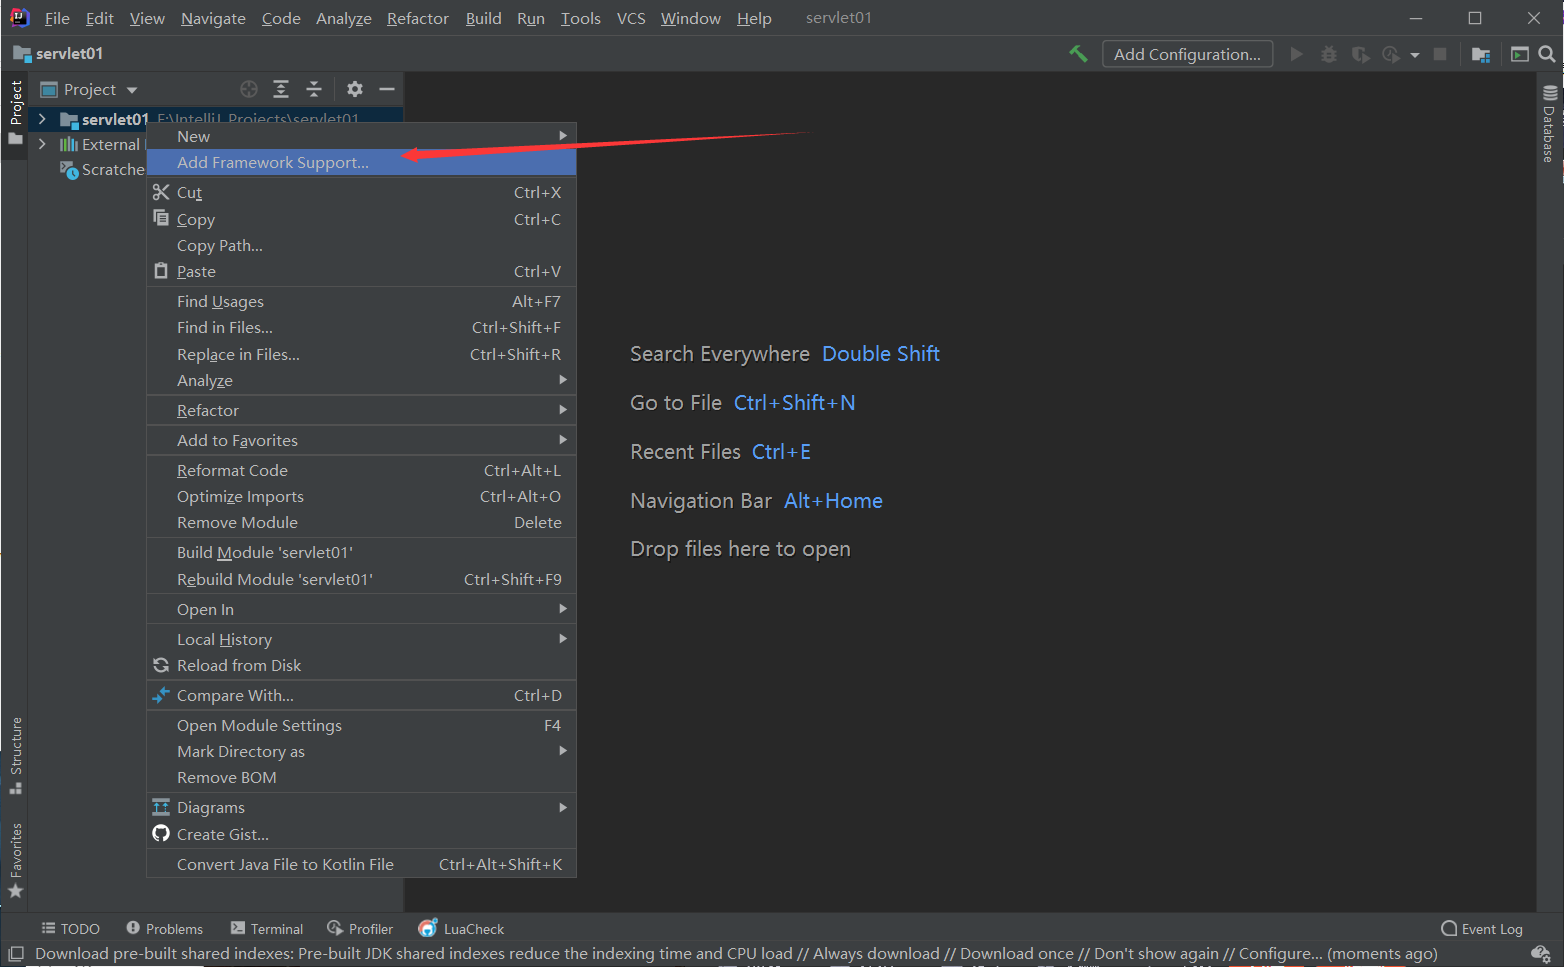
右键项目,添加框架支持
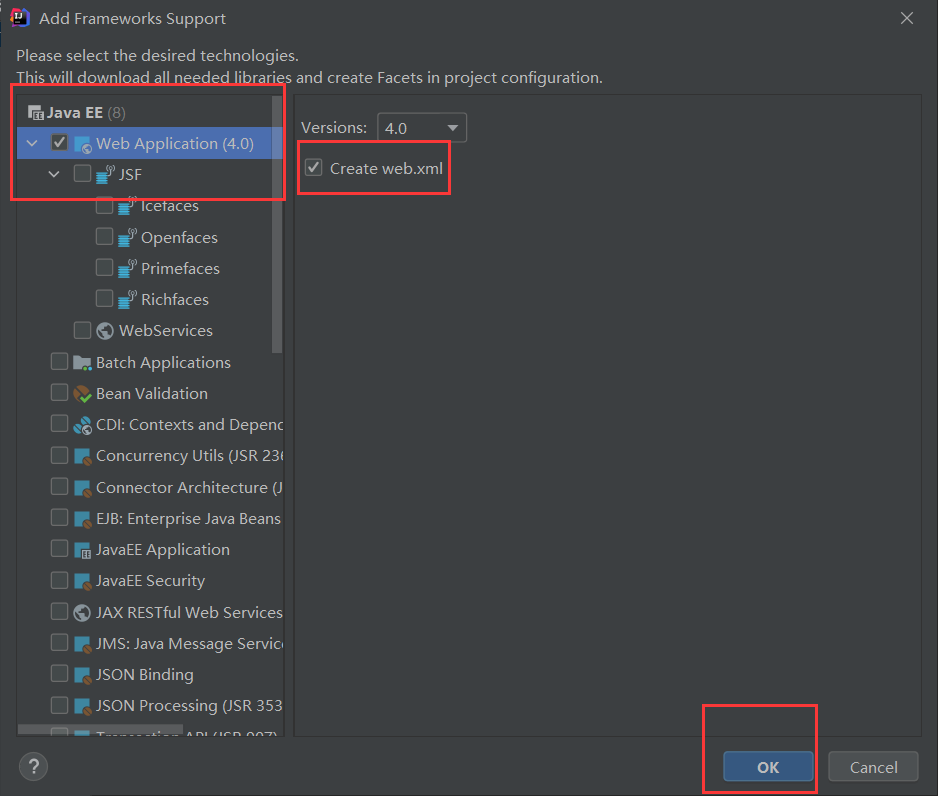
选择web application,勾选create web.xml,点击ok
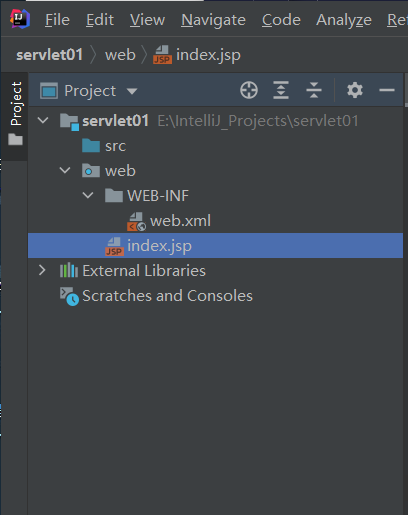
之后会看到如图所示文件结构
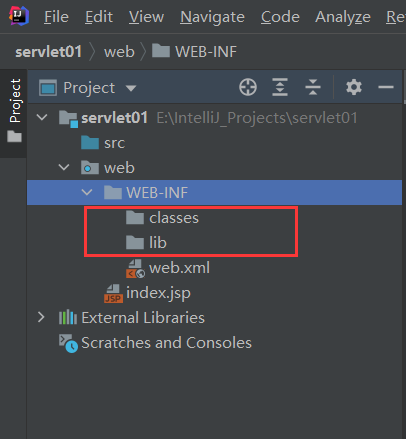
在 web-inf 文件夹下创建classes和lib文件夹
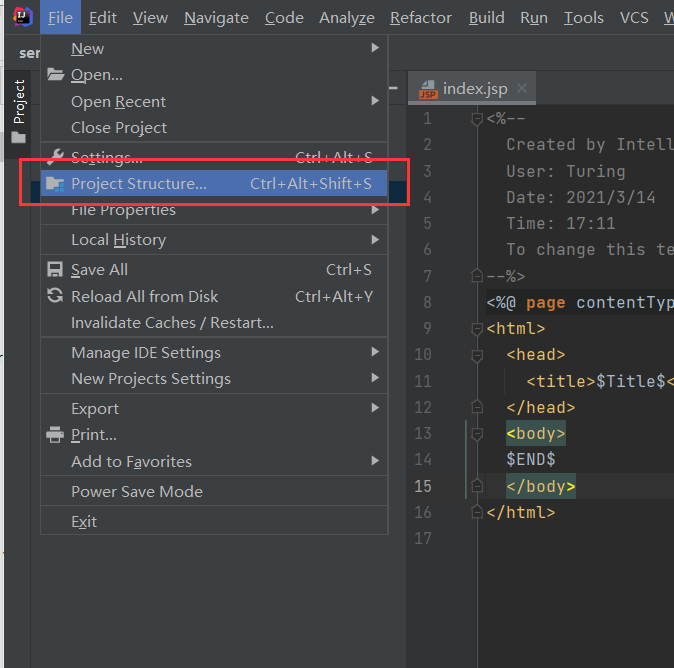
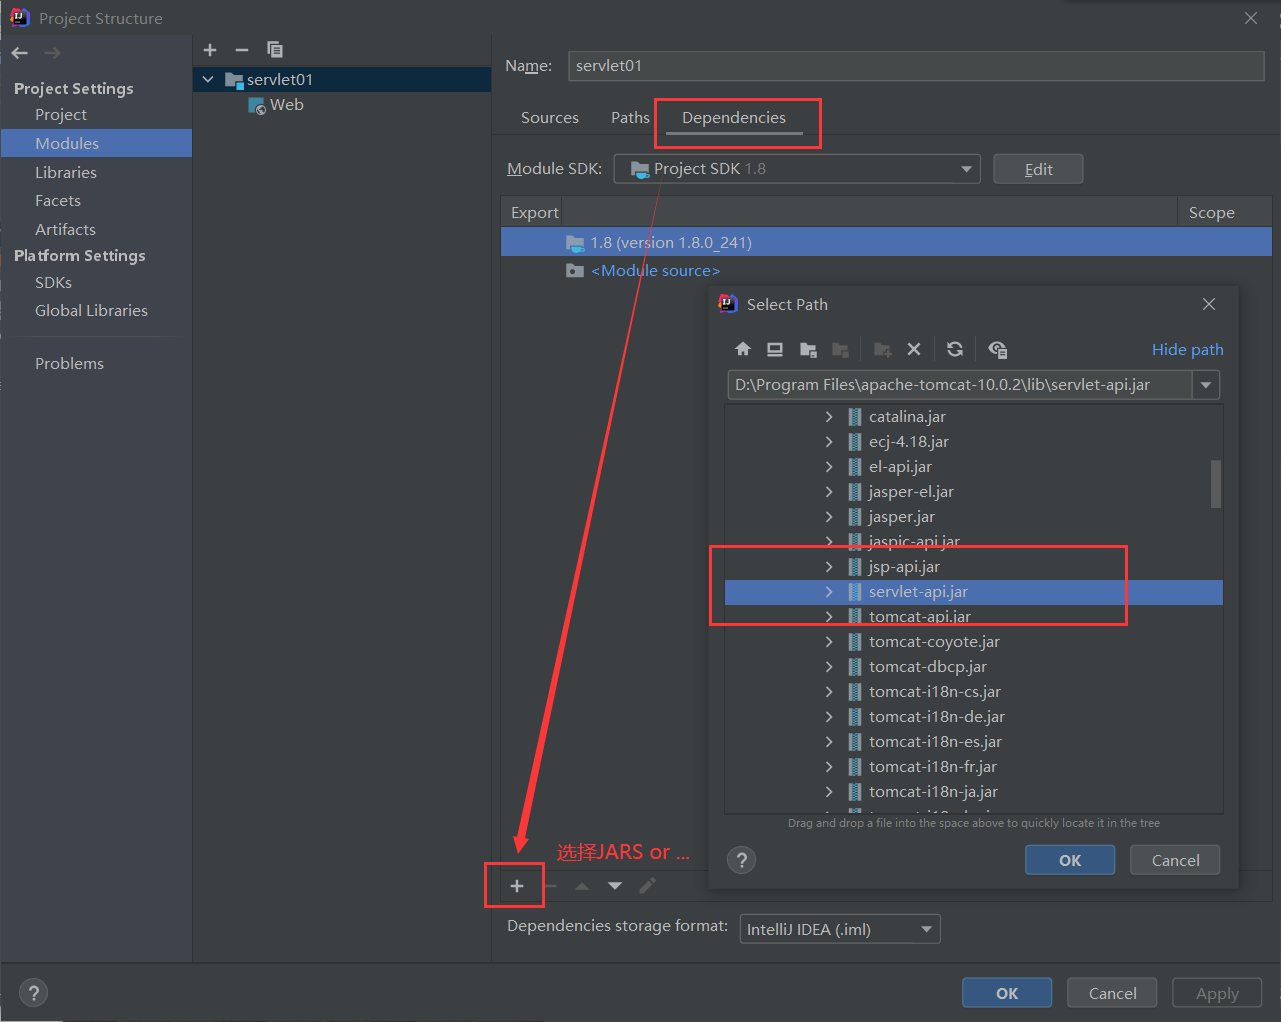
如图打开project structure
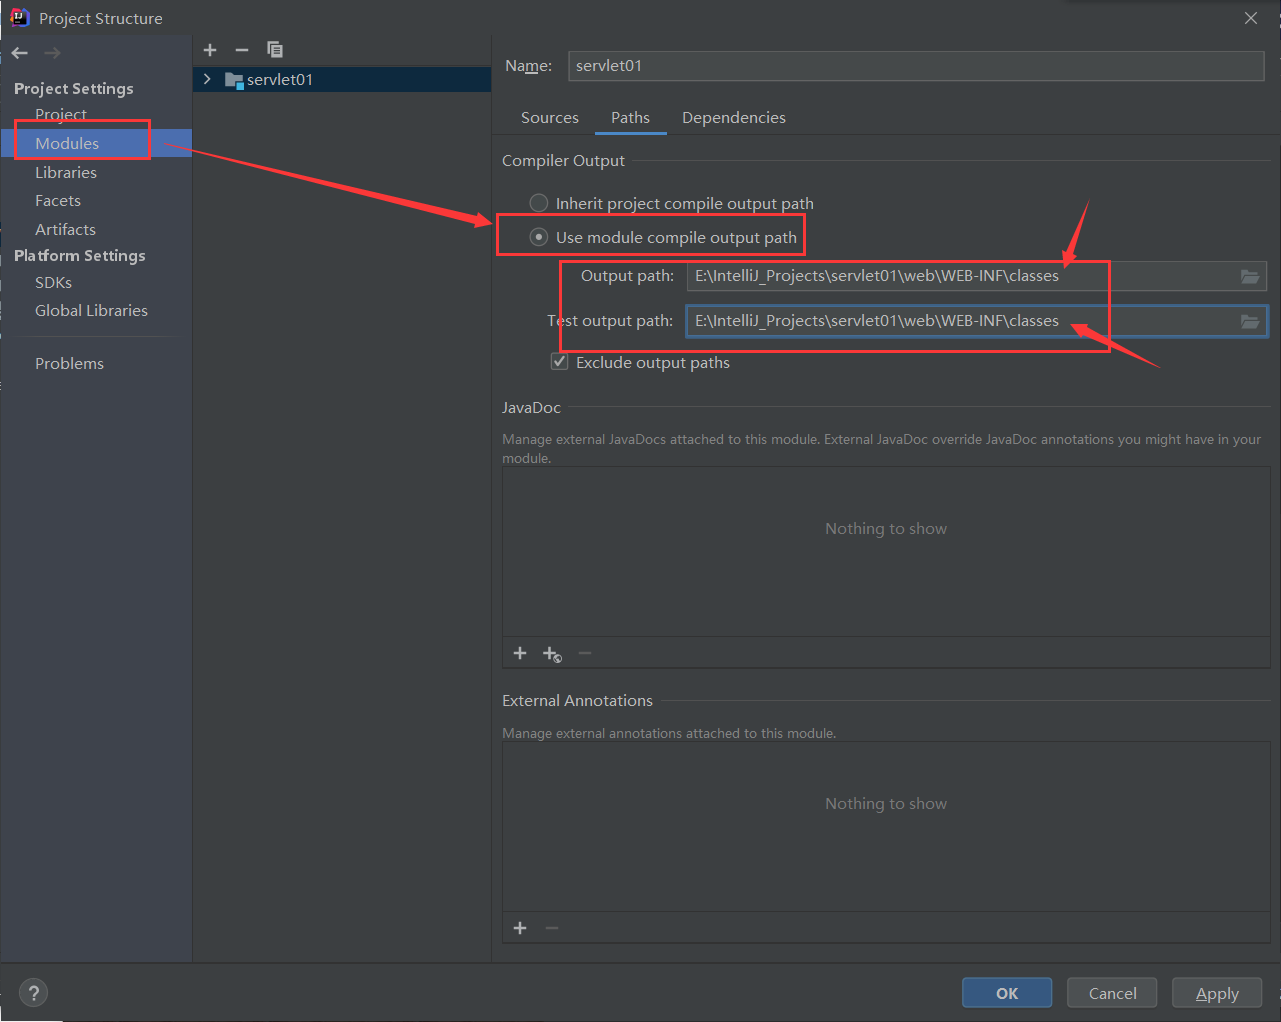
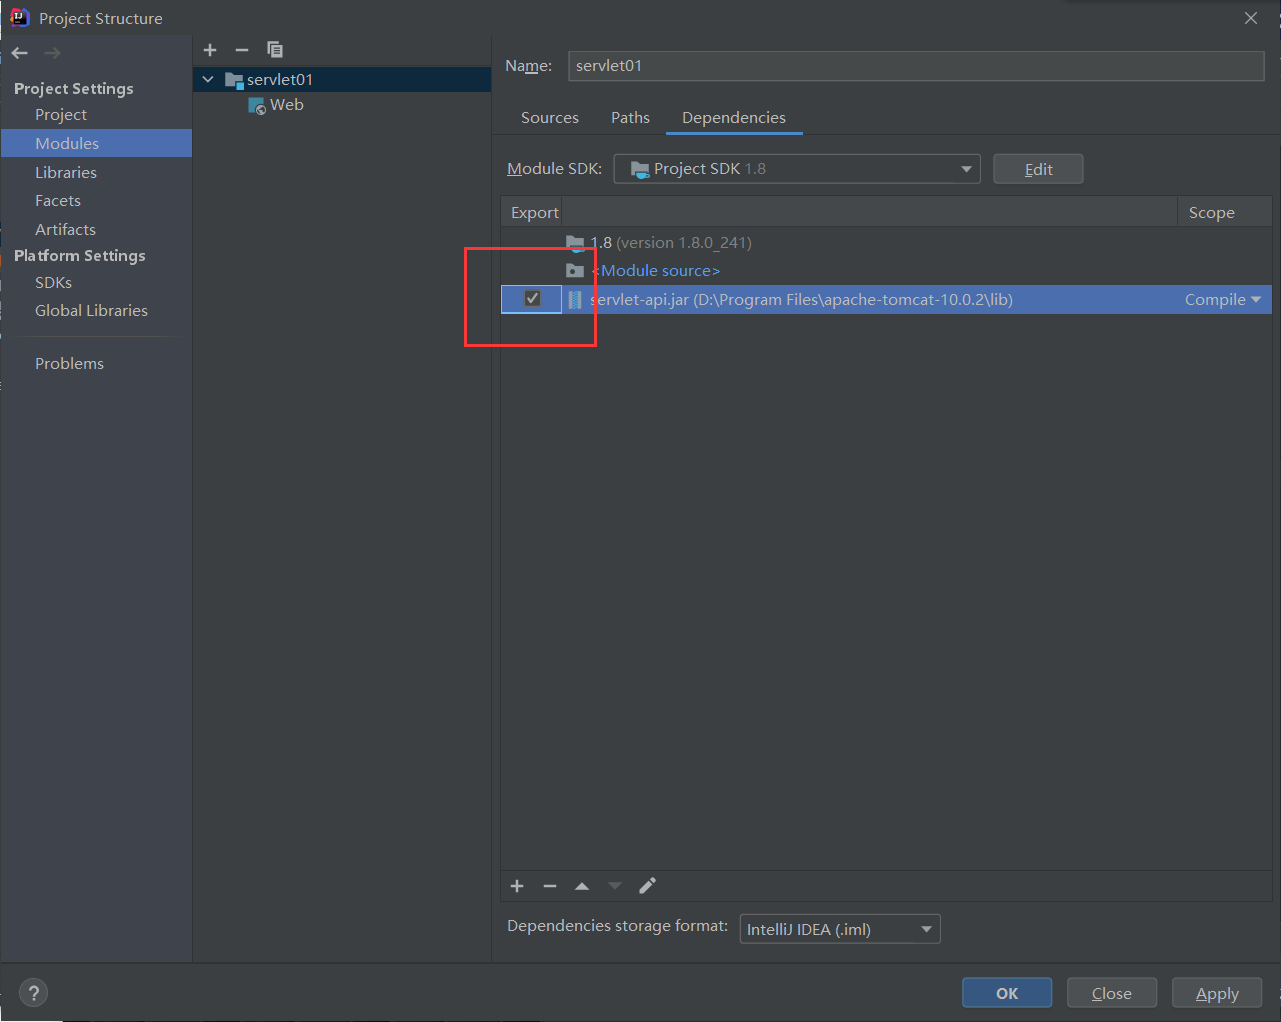
设置成这样
按如下导入tomcat目录下servlet.jar包
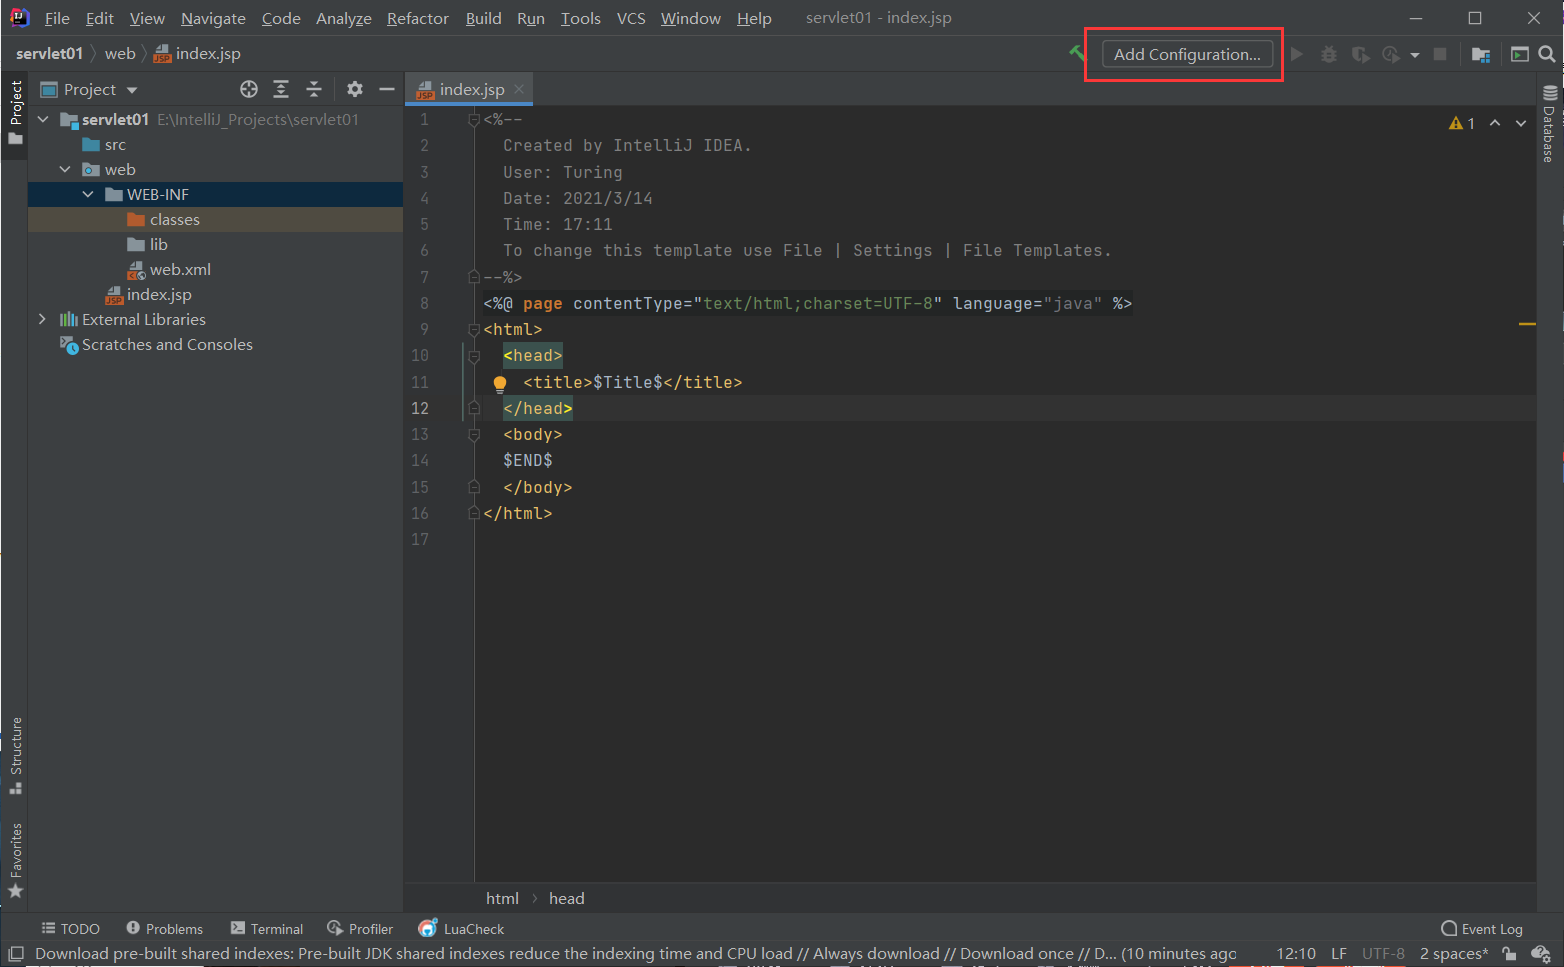
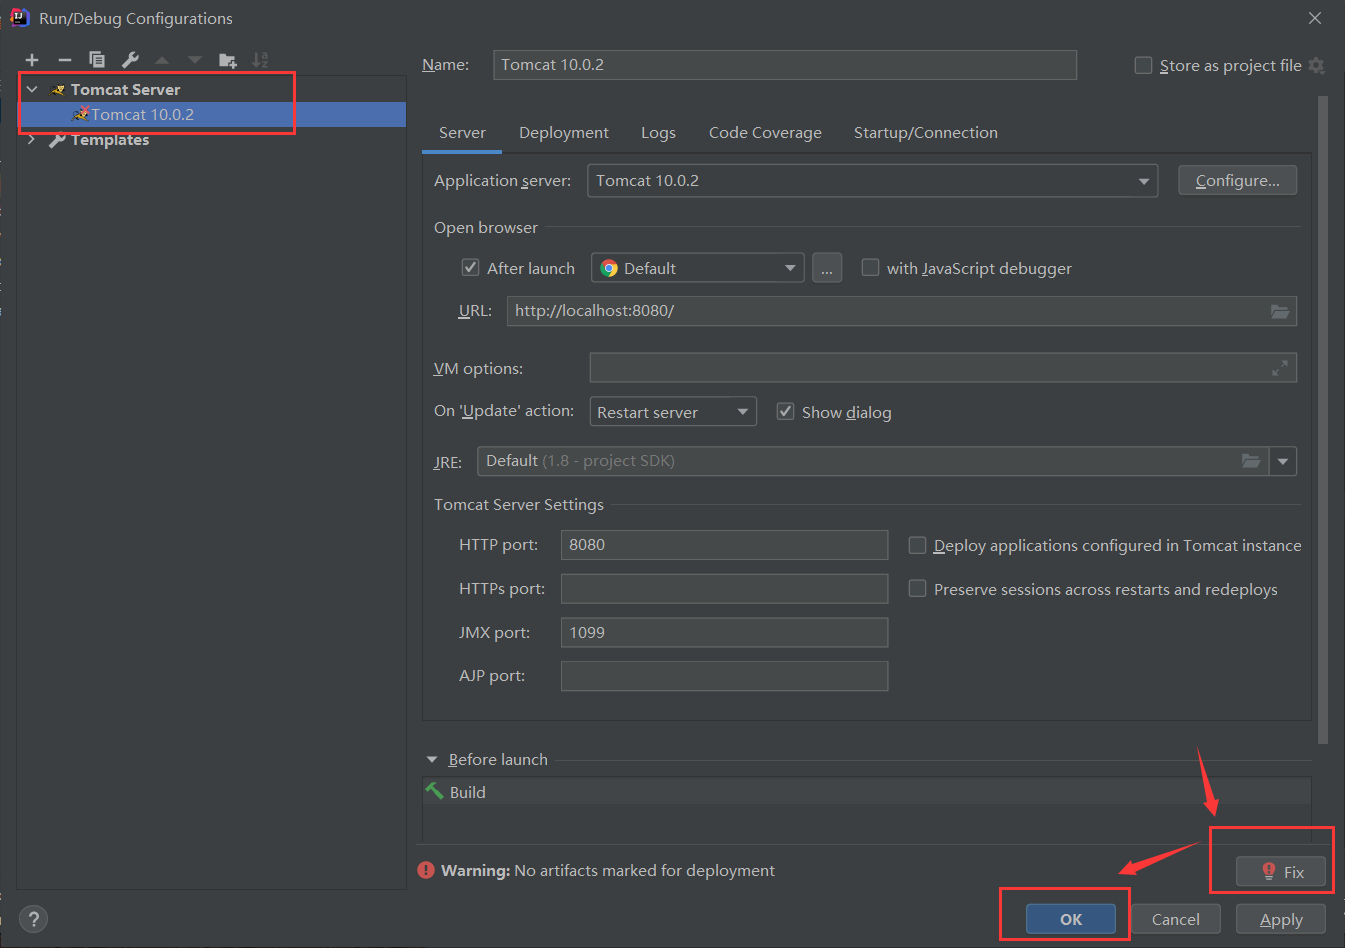
点击add configurations
选择 tomcat server,local
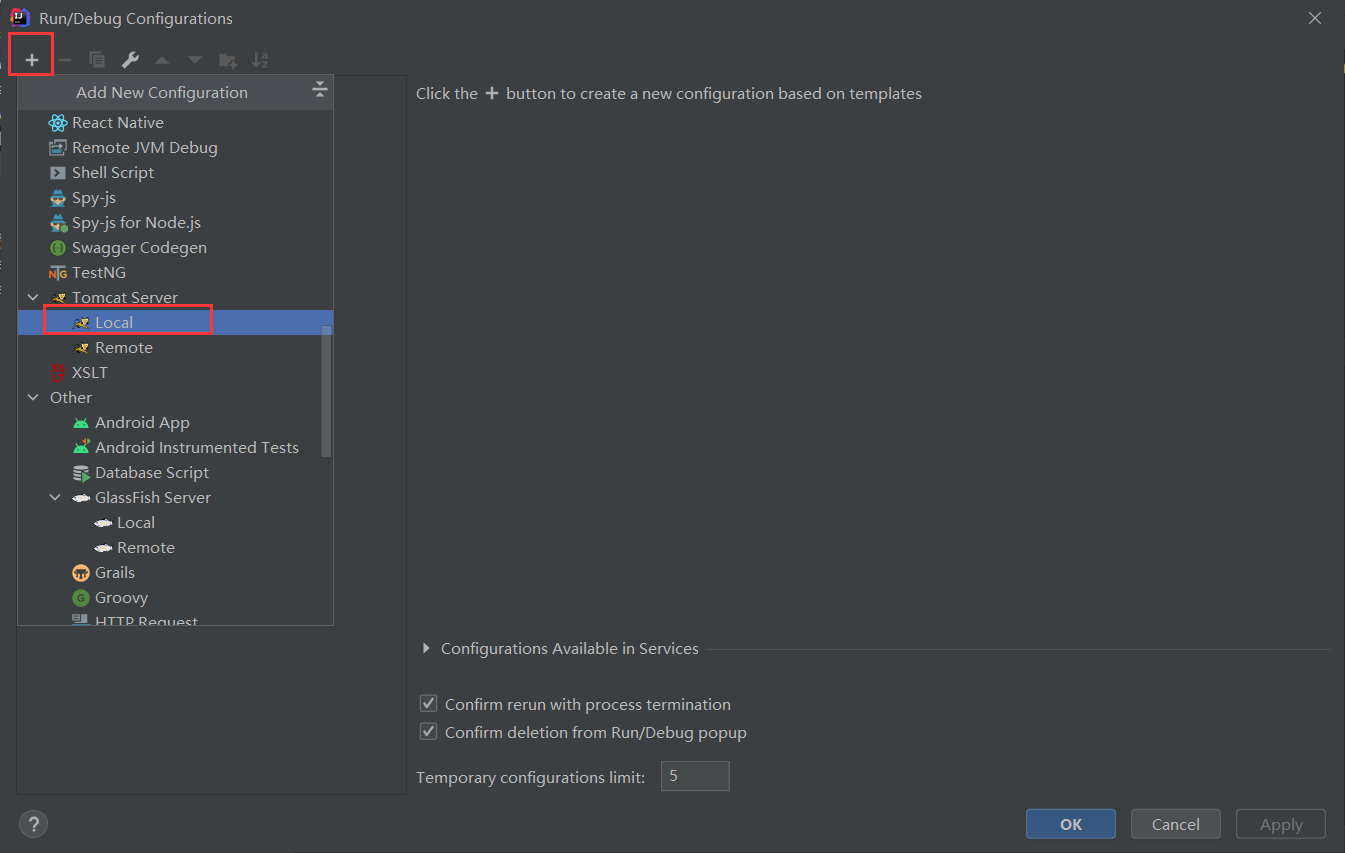
点击fix,再点ok
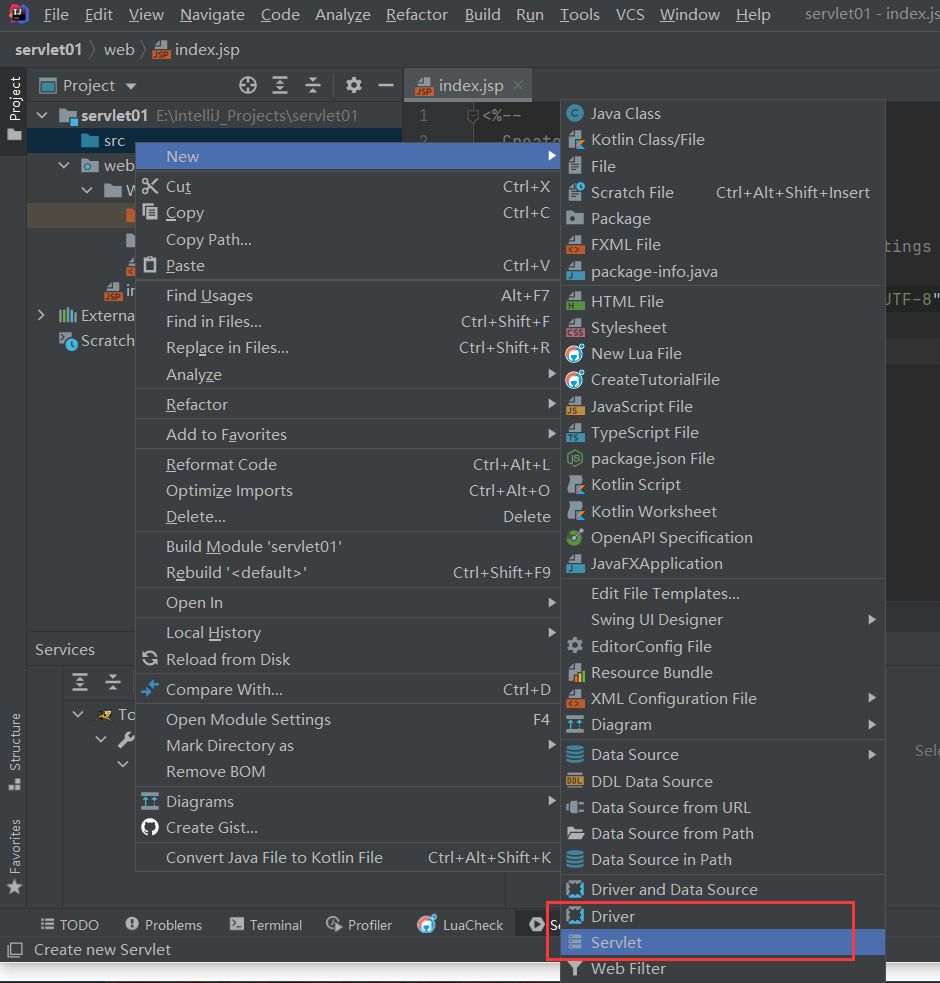
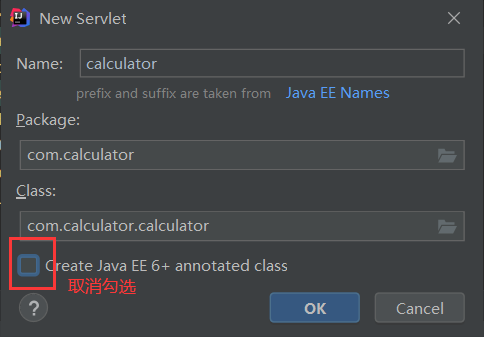
src右键,创建 Servlet
简单的计算器示例
index.jsp 编写如下
<%@ page contentType="text/html;charset=UTF-8" language="java" %>
<html>
  <head>
    <title>Web Calculater</title>
  </head>
  <body>
    <h1>Web Calculater</h1>
    <form action="cal" method="post">
      <p>
        Input number A <input type="nubmer" name="a">
      </p>
      <p>
        Input number B <input type="nubmer" name="b">
      </p>
      <p>
        <input type="submit" value="RUN">
      </p>

    </form>
  </body>
</html>
calculator.java如下
package com.calculator;

import jakarta.servlet.*;
import jakarta.servlet.annotation.WebServlet;
import jakarta.servlet.http.*;

import javax.jws.WebService;
import java.io.IOException;

@WebServlet("/cal")
public class calculator extends HttpServlet {
//    @Override
//    protected void doGet(HttpServletRequest request, HttpServletResponse response) throws ServletException, IOException {
//
//    }

    @Override
    protected void doPost(HttpServletRequest request, HttpServletResponse response) throws ServletException, IOException {
        int a = Integer.parseInt(request.getParameter("a"));
        int b = Integer.parseInt(request.getParameter("b"));

        int sum = (a + b);
        response.getWriter().println("Sum of " + a + " and " + b + " is " + sum);
    }
}
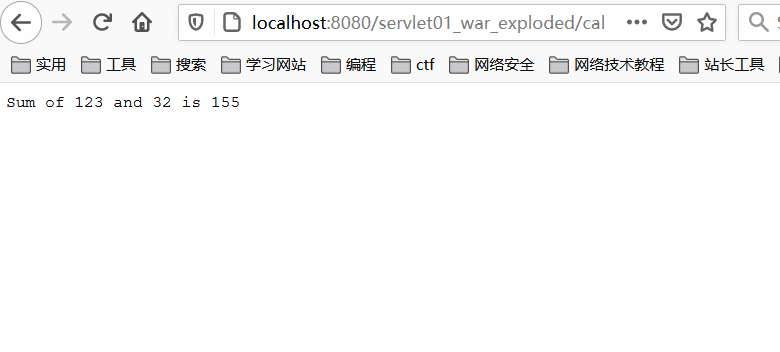
启动服务可以看到
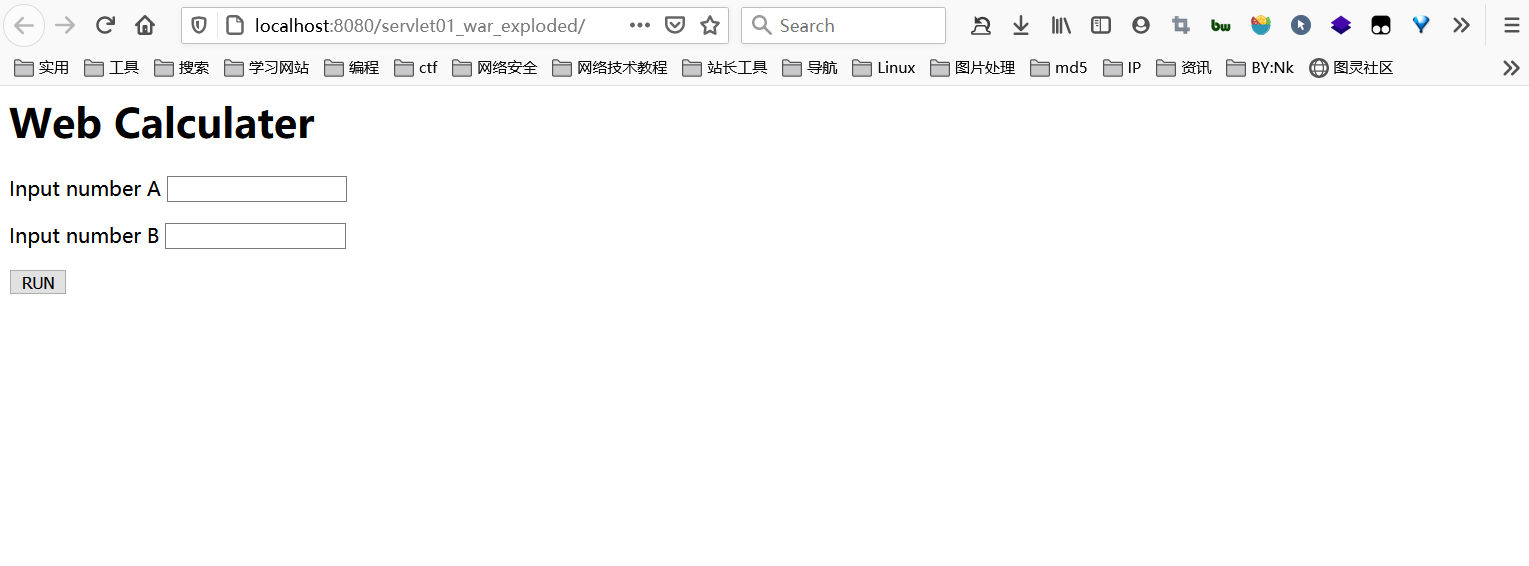
随便输入几个数字即可看到成功计算
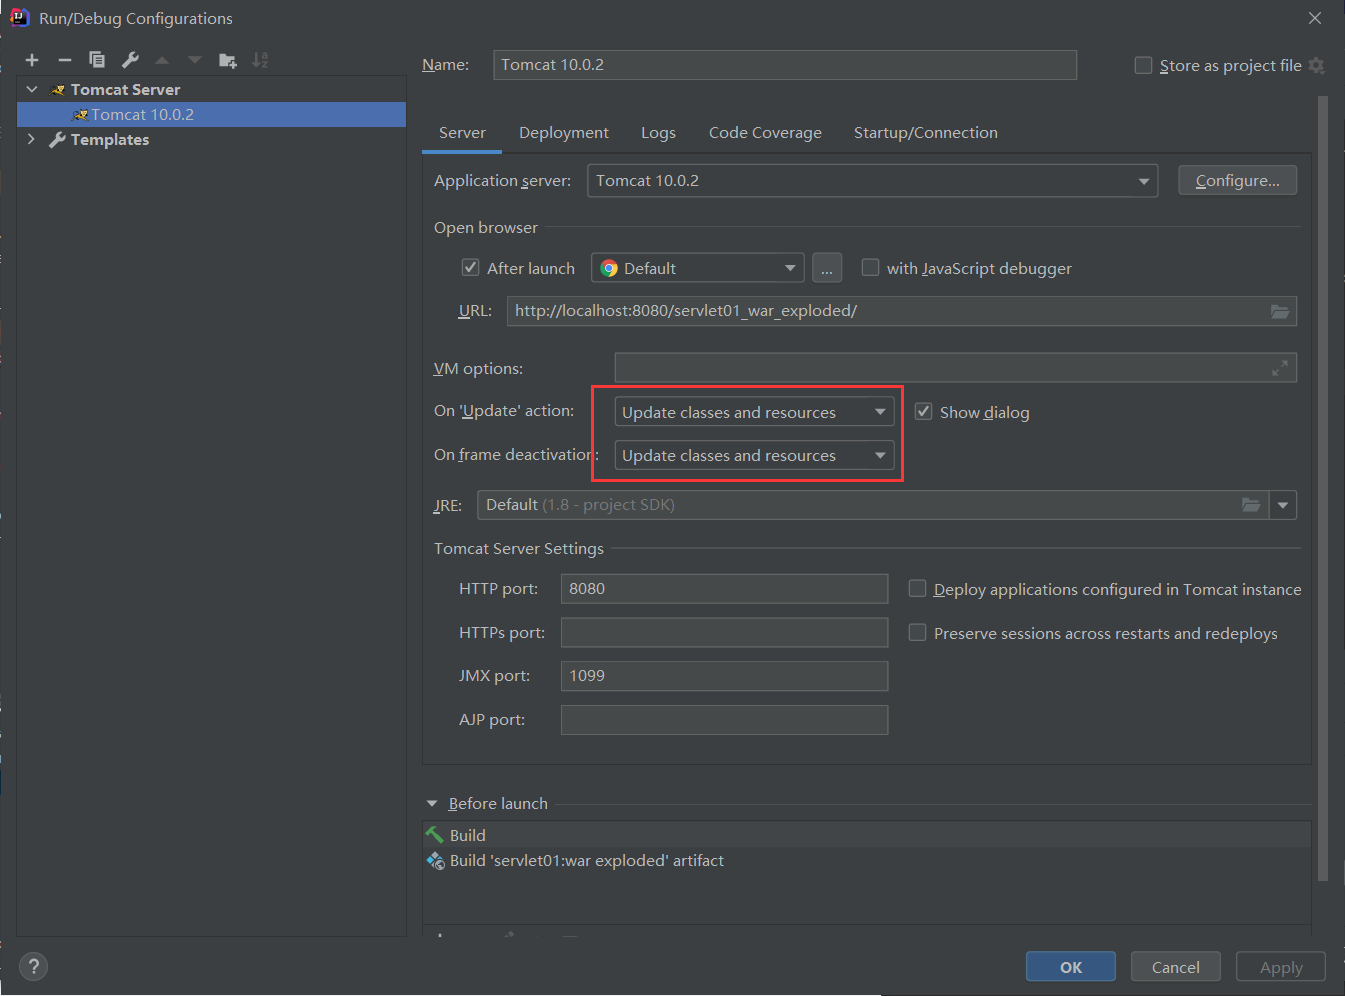
可按如下设置即可实现修改jsp页面和后端数据后,刷新页面实时更新
Ref: